Gathering Materials
Wax melting pot
I have recently acquired an electric wax melter pot. Previously I used a double boiler pot over a regular cooking pot on the stove.
Wax
I try my best to reuse wax. I save the ends of spent candles and scrape them into glass jars. If you’re going to try to make any color other than black it’s important to separate wax by color, but used candle wax often has soot or a little dust that can make the colors dingy anyway. But you can mix any combination together and add black dye and get black candles.
I also have several pounds of candle wax in large blocks, which I think I ordered from a website called candlescience.com.
Additives
There are numerous possible additives to candles.
- Stearin is a derivative of fat (animal or plant) which acts as a hardening agent, which can be very important if you’re using a softer wax and/or want to make something like a taper candle. It’s less essential for container candles.
- Dyes come in several varieties. There are liquid dyes, which can be added a drop at a time and mixed to create your own custom colors, dye blocks made of wax heavily saturated with dye, and dye powders.
- Scents can be added to candles with oils are wax blocks designed to do so, or with regular essential oils.
Molds & Containers
You need something to shape your melted wax into a candle. This can come in the shape of molds, or containers, or both. Candle molds are usually silicone, in either one piece or two that interlock, and containers are usually glass.
Wicks
There are also various types of wick. They’re usually cotton, an sometimes waxed to stand up straight on their own.
Wick Bars
With any wick that isn’t waxed to stand up, you need a wax bar. This is usually literally a wooden tongue depressor with a hole in it. When using a mold, the wax bar sits over the opening of the mold to hold the wick in the center of the candle. In taper molds, this will be at what will be the bottom of the candle, and the wick is pressed into a thin channel in the bottom of the mold. For container candles, the bar hangs over the top. For large candles with multiple wicks you need both multiple bars and longer bars.
Wick Tabs
These are the metal tabs you’ll find at the bottoms of many candles. The hold the wick on the bottom of the candle and keep it from moving or floating, as well as making it impossible to pull the wick out from the top after it’s finished. You don’t necessarily need a wick tab if you’re using a mold that’s poured in from the candle bottom.
Wick Stickers
These double sided stickers adhere wick tabs to the bottom of a glass container.
Utensils
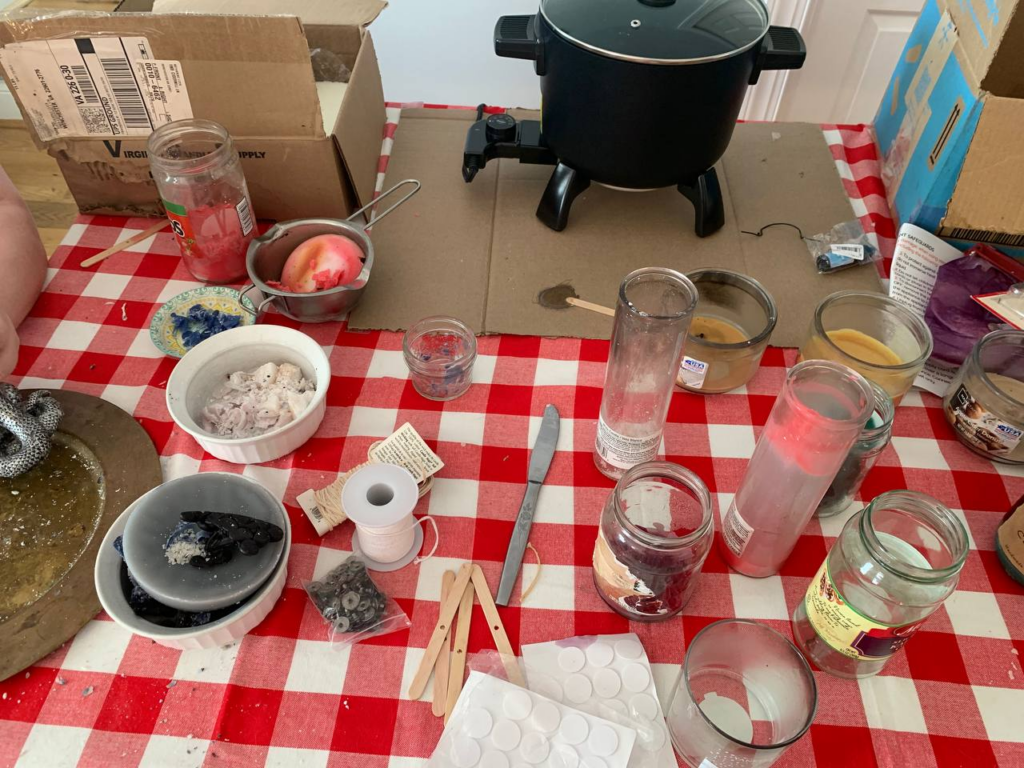
For various purposes, I use butter knives and chopsticks, for things like scraping salvaged wax, and pressing down adhesives. You’ll also need scissors to cut wicks to size. Depending the size of your molds and your wax melter, you may need a funnel for pouring hot wax.
Thermometer
Optionally, you may want a thermometer. Thermometers for wax exist, but in a pinch a candy thermometer works. Each type of wax has its own melting point. If you heat your wax beyond that melting point, it will take longer to cool and it will expand more, causing a void in the center of your candle when the wax hardens and contracts. Electric melting pots usually have a thermostat. If you over heat your wax, you’ll need to do a second pour into each candle after it hardens. Don’t let your wax boil or it could burn.
Choosing Wax
Different types of wax have different properties and are ideal for different types of candle.
Soy Wax
I’ve recently learned that soy wax doesn’t hold dye well enough to produce vibrant colors easily. Unless you use a truly unreasonable amount of dye, it comes out pastel, and black dye only gives you grey. But soy wax is comparatively sustainable and environmentally friendly. It burns cleanly and slowly.
Paraffin wax
Paraffin is a petroleum product, so it’s a part of the fossil fuel industry and there are ethical implications there. Unfortunately it’s also the most common candle wax. Most of the scent and dye preparations are formulated to work best with paraffin.
Paraffin does not “frost,” so its appearance is uniform and predictable. Natural waxes sometimes produce crystal-like formations as they solidify, leading to an uneven appearance and coloring.
High melting point paraffin is hard and the most structurally stable option for tapers and pillars.
Beeswax
Compared to soy wax, beeswax has a high melting point and is durable and slow burning, as well as being sustainable. It’s probably the best option overall, but it’s also comparatively expensive because relatively small amounts are produced and demand is high.
Blended Wax
Different types of wax can be blended to achieve the best properties of each and limit their downsides. Including types of wax/oils that cannot be used to make candles on their own, such as coconut oil, which is solid at room temperature but only barely, and very soft and moldable.
Melting Wax
If you use salvaged wax, pick out any pieces of wick, wick tabs, and soot. Regardless of what kind of wax you use, you need to melt it, either in a melting pot or a double boiler. A double boiler will go on top of a larger pot of water on a stove. I have an electric wax pot, and can just set it to the right temp, throw everything in the pot and let it melt.
If you don’t have a pot with a thermostat, you’ll want a thermometer to help you get your wax as close to the melting point as you can without going under. Blended waxes may require some guess work. If you have neither thermostat nor thermometer, just know that if your wax boils it’s much too hot and could burn.
If you’re mixing different kinds of solid wax, you’ll need to reach whichever is the higher melting point, of course. Once two types of wax have been melted together, their melting point will be somewhere between the two separate types.
You can also add things like stearin at any time in this process.
Wax Dye
You can also add your dyes at any point while the wax is melting. You’ll want to stir it at some point in the melting process to make sure the dye distributes evenly. Liquids can be added at the last minute if you want, but powders and even more so dye blocks will need time to melt and dissolve just like the wax itself, so don’t wait too long or it’ll slow down your whole project.
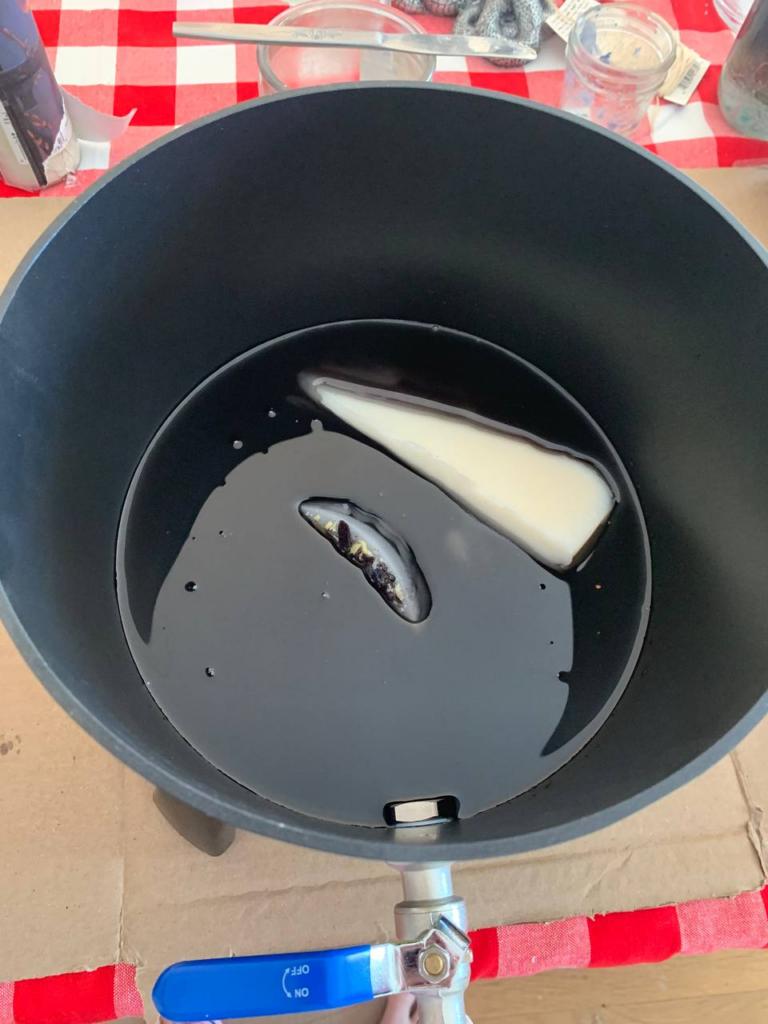
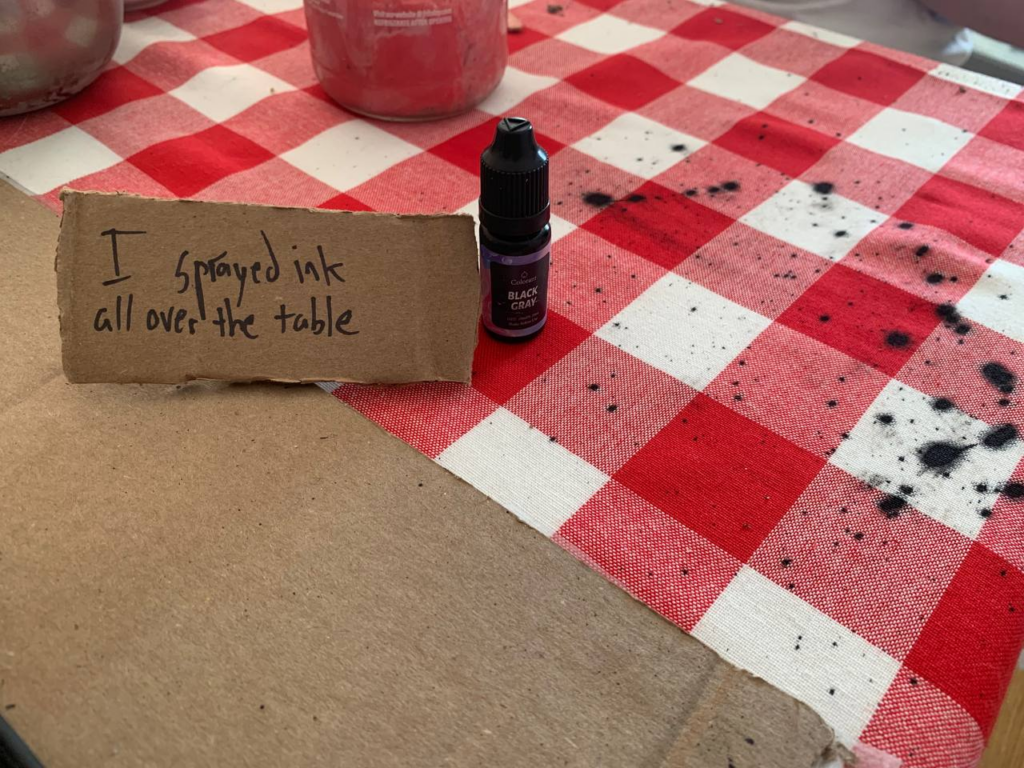
For this project, I was trying to make some black candles. Dye blocks probably would have been my best option, but all I had was this liquid dye, so I gave it a try.
Unfortunately, this dye was poorly behaved, and didn’t flow very well. When I pressed harder to get it to drip into the pot, the dropper top broke and sprayed its entire contents both into the pot and across the table, beyond the cardboard I’d laid down to avoid this exact problem.
Do you think “dye shaming” will catch on as a meme?
Wax Scents
I have several vials of scented oils designed for candles. If you’re going to use an essential oil that isn’t explicitly formulated and sold for candle making, you’re going to need to do some research and/or testing. Some essential oils aren’t necessarily healthy to breathe when burned, and some just smell bad when burned. Not all oils are created equal.
Mold/Container Prep
While your wax is melting, you can begin prepping molds and containers.
Preparing a Candle Mold
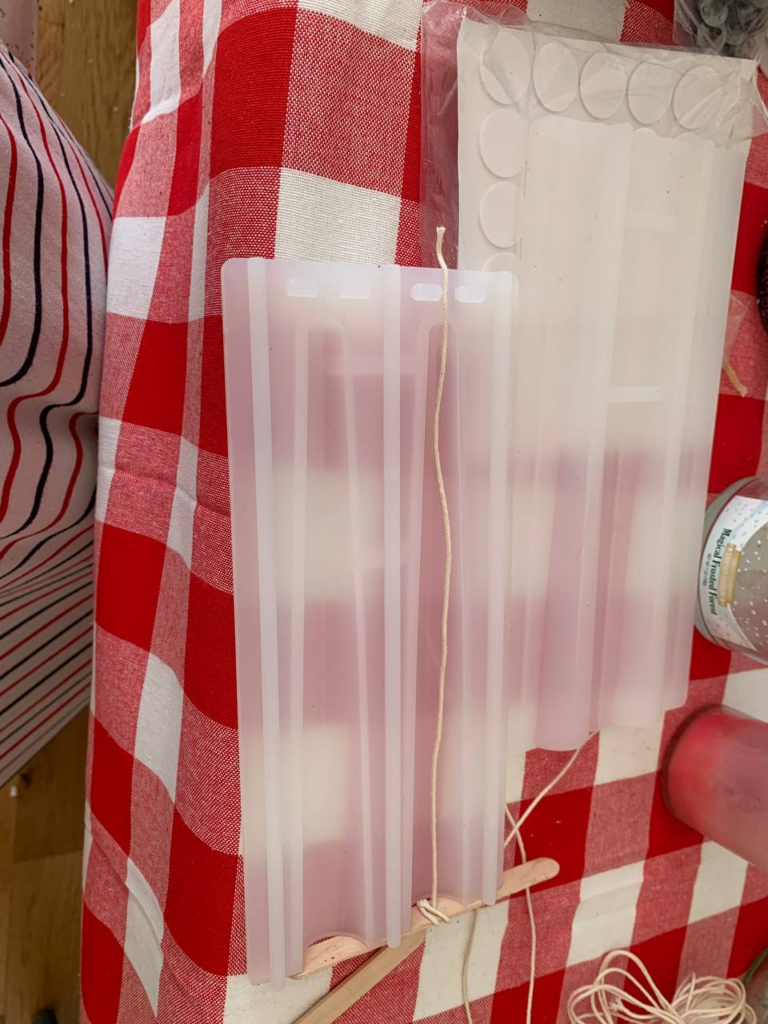
Candle molds are used to create taper, pillar, votives, and any other type of candle that is free standing wax with no container. The mold itself is usually silicone, but can be made of other materials. They just have to form a seal that won’t leak. One piece silicone molds will need to be oiled before use, and if they don’t already have a hole for the wick, you’ll need to make one and thread it with a wicking needle. But my molds are in two pieces so I can skip that step.
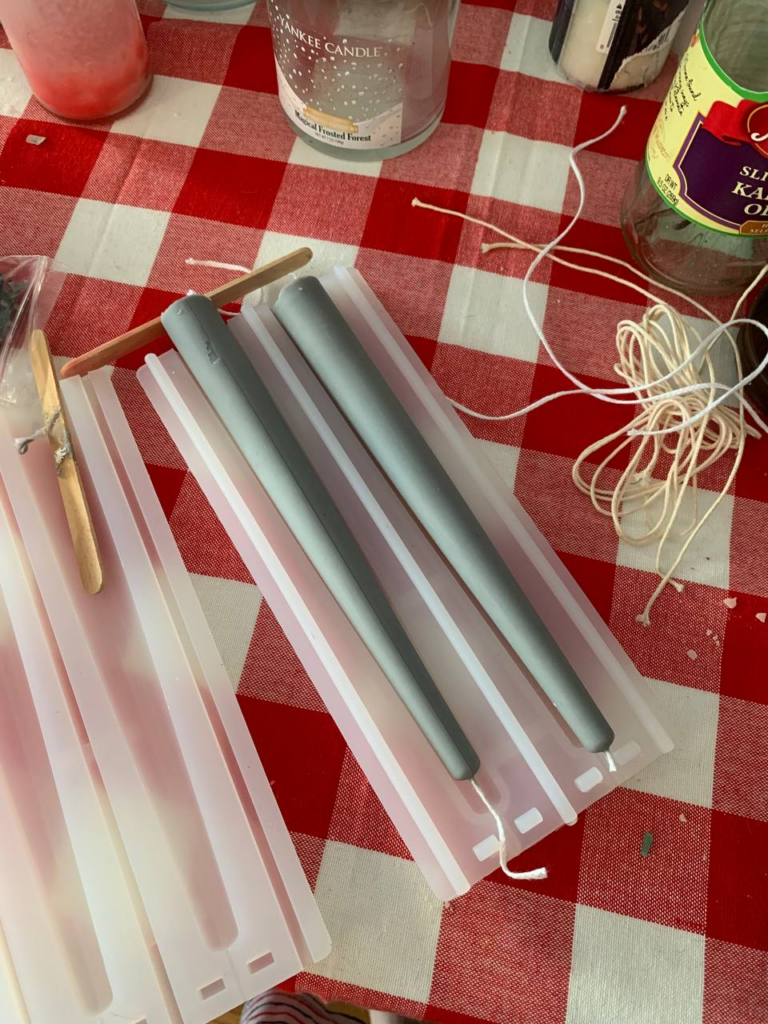
I have two taper candle molds, each of which makes two candles, so I can make four at a time.
I mostly use a roll of cotton wick that’s several feet of wick on a spool. So with these molds, I start by tying the end of the wick roll to a bar, then I measure out enough wick to be just a little more than the length of the taper candle, and cut it.
The cut end of the wick then goes at the bottom of the mold, which will be the top of the finished candle. There’s a narrow channel at the bottom of the mold so that the wick can extend out of the bottom of the mold. This will be the length of wick at the top of the candle so you can light it.
The bar sits above the top of the mold, the base of the candle.
When you close the two halves of the mold, make sure the wick is centered in the little channel at the bottom. Then you can tug that end of the wick to pull the bar tight against the other end, which should center it in the middle of the candle.
Preparing a Candle Container
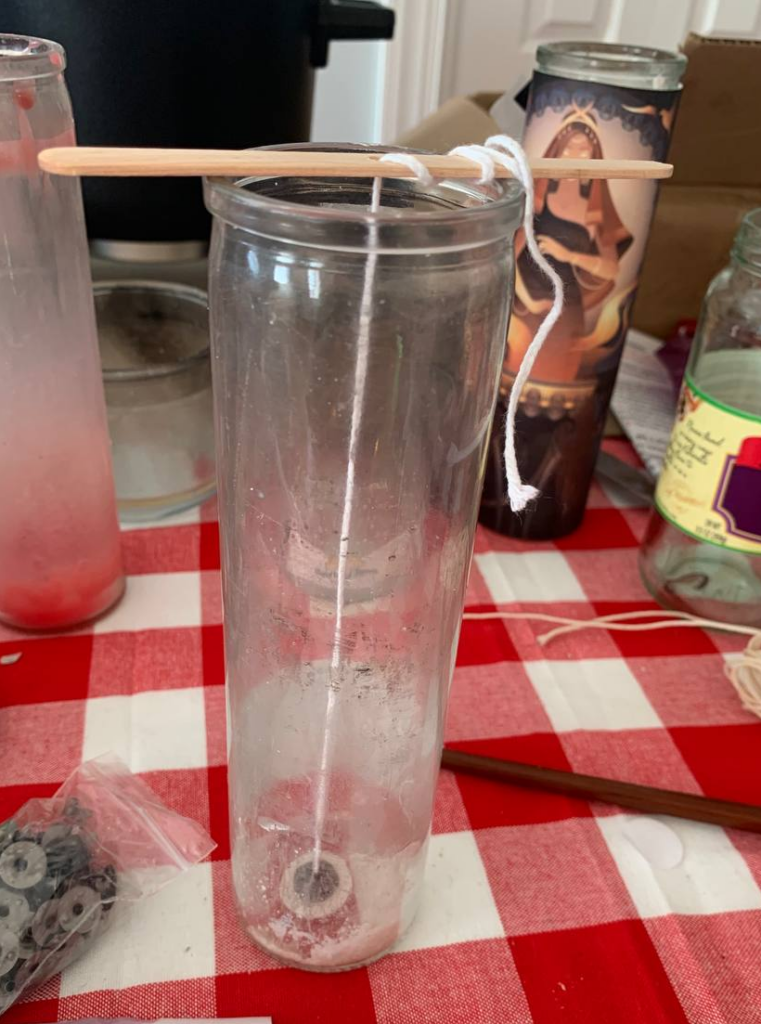
Most containers are clear glass. The method is similar but not quite the same as preparing a candle mold. Like my wax, I always reuse candle containers. I tend to buy blank prayer candles already made, and when they are spent I clean and reuse them. It’s up to you how thoroughly you want to clean them. There will inevitably be soot at the top of the jar. A bottle brush could work to clean them thoroughly, but won’t preserve any image you’ve put on the outside.
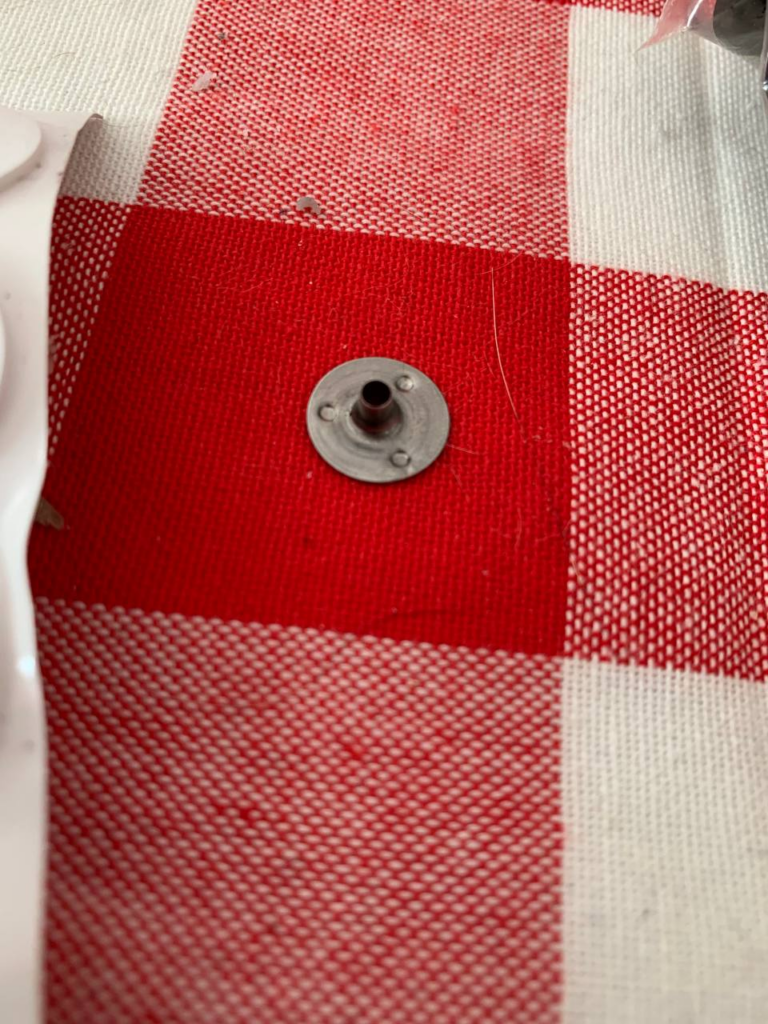
Here you will start by threading the wick through a metal candle tab. The tube part should face up, with the flat face on the bottom. Tie a knot in the wick at the flat end so it won’t come out. This tab will sit at the bottom of the finished candle.
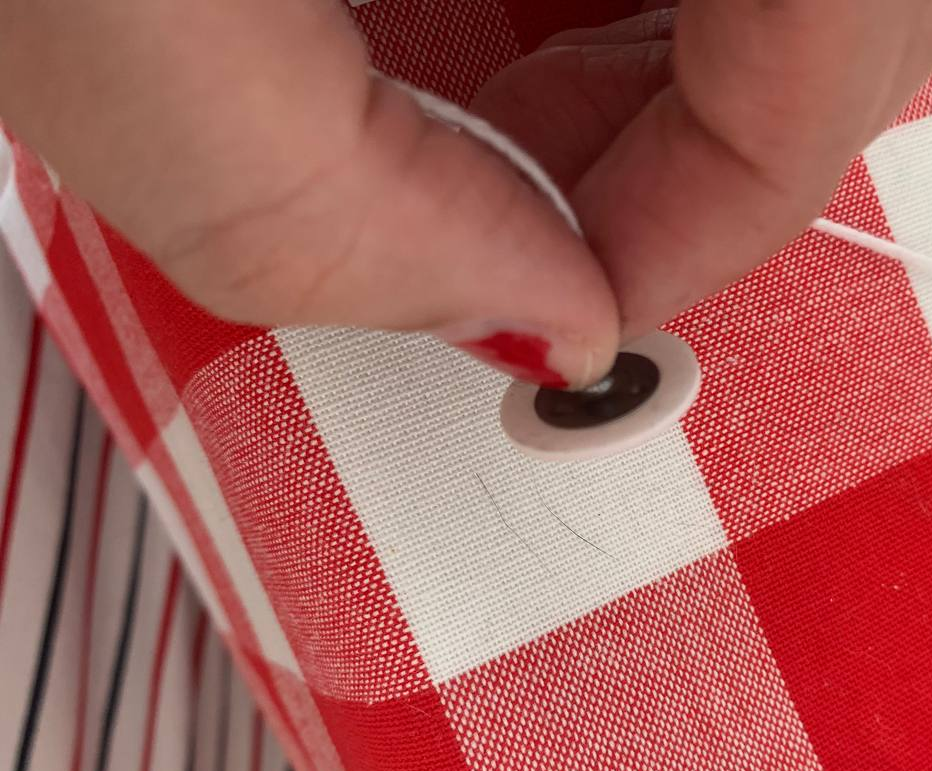
The wick stickers usually come in sheets, like any other sticker. They are double faced adhesive. So peel one off the sheet and put it on the flat bottom of the tab. Then you can remove the paper from the other face, and carefully lower it into your container. With long containers like prayer candles, you’ll need to be extra careful not to accidentally stick it to the sides on the way down.
Carefully center the tab in the middle of the candle (otherwise your candle will only melt on one side) and I’ve found chopsticks are perfect for pressing the sticker down so it won’t come loose.
You’ll need to measure out more wick than the depths of your container by at least a couple inches. The loose end needs to be threaded up through a wick bar. Set this bar across the center of the candle, and I wrap the wick a few times around the bar, and use the rim of the container to keep it taut. It’s important that there be no slack in the wick and it be centered, or the candle won’t burn evenly.
Pouring Wax
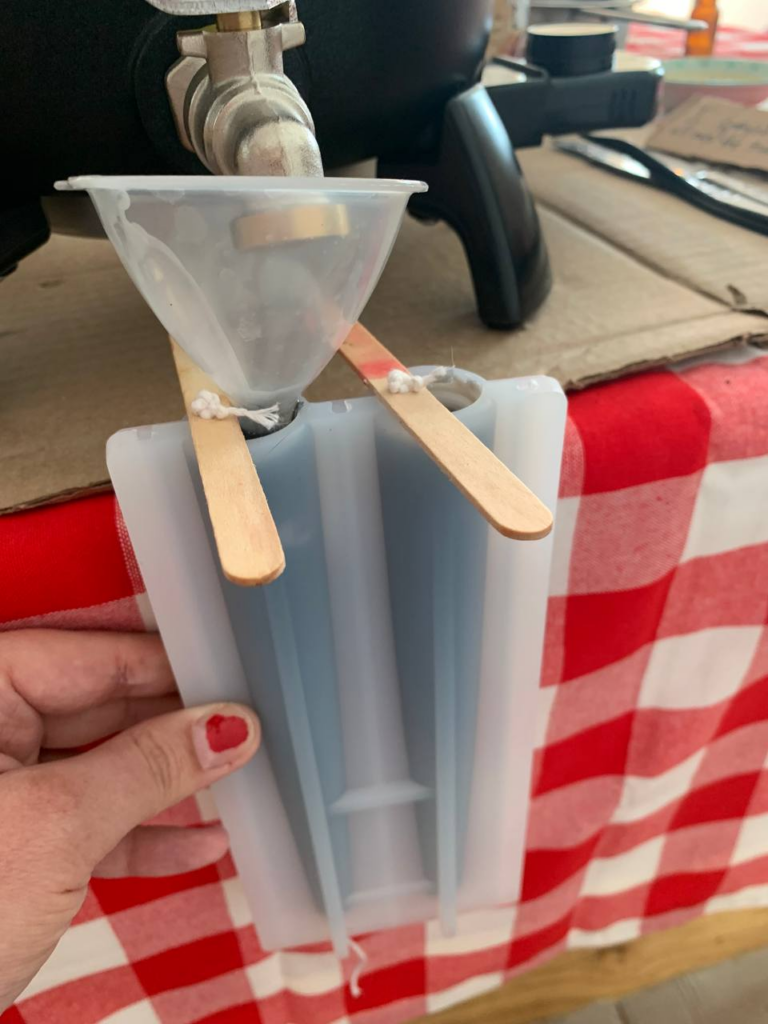
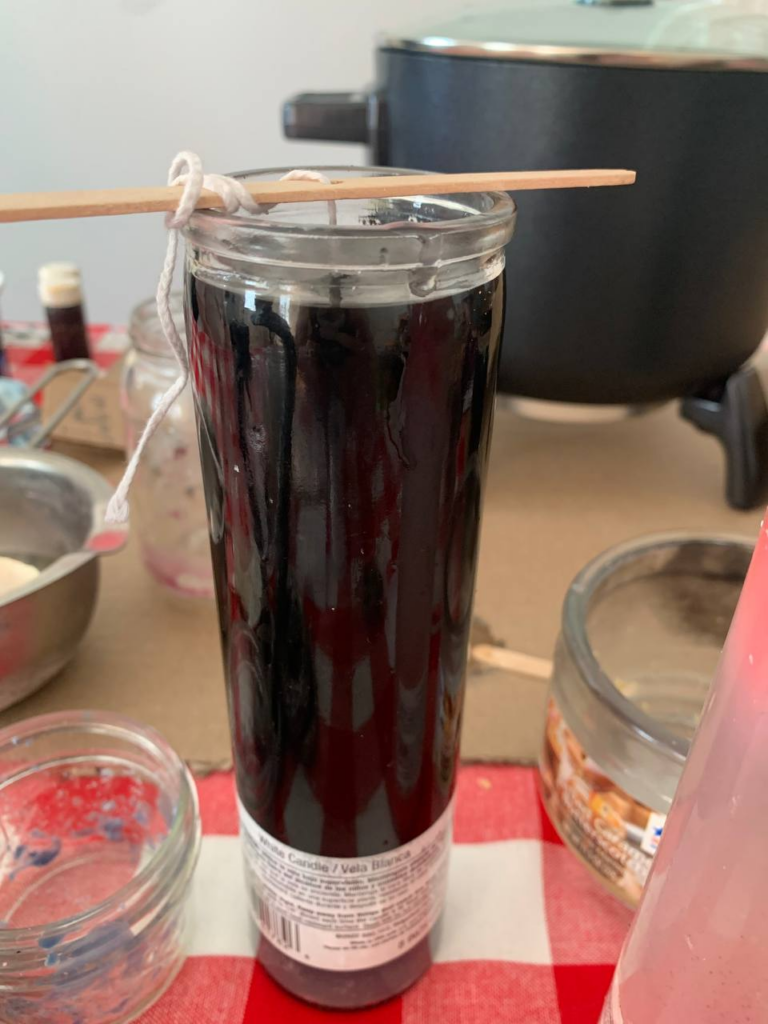
Now all that remains is to pour the wax. A wax melting pot will have a spigot to open to pour the wax easily. With a double boiler you have to lift and pour the whole thing. Use a funnel as needed.
If your molds don’t have a flat bottom, account for the fact that you need something to help them stand up straight. I just pressed them between the boxes of my candlemaking supplies, since they were there.
Wax expands when melted and contracts as it cools. It expands more the hotter it is. This means depending on the temperature of your wax, it will contract as it cools and may lead to a funnel shaped void at the top. Once your wax is mostly cool, you can add a little more to level off the top. This smaller amount of wax won’t sink as much just because there’s less of it.
After the wax is completely cool (which seems to take about an hour) you can cut off the wick bar, leaving less than an inch of wick at the top of your candle.
My attempt at black candles turned out grey. It turns out the problem is that my wax is mostly soy (with some reclaimed paraffin) so it doesn’t take dye well. Otherwise, they worked out perfectly.
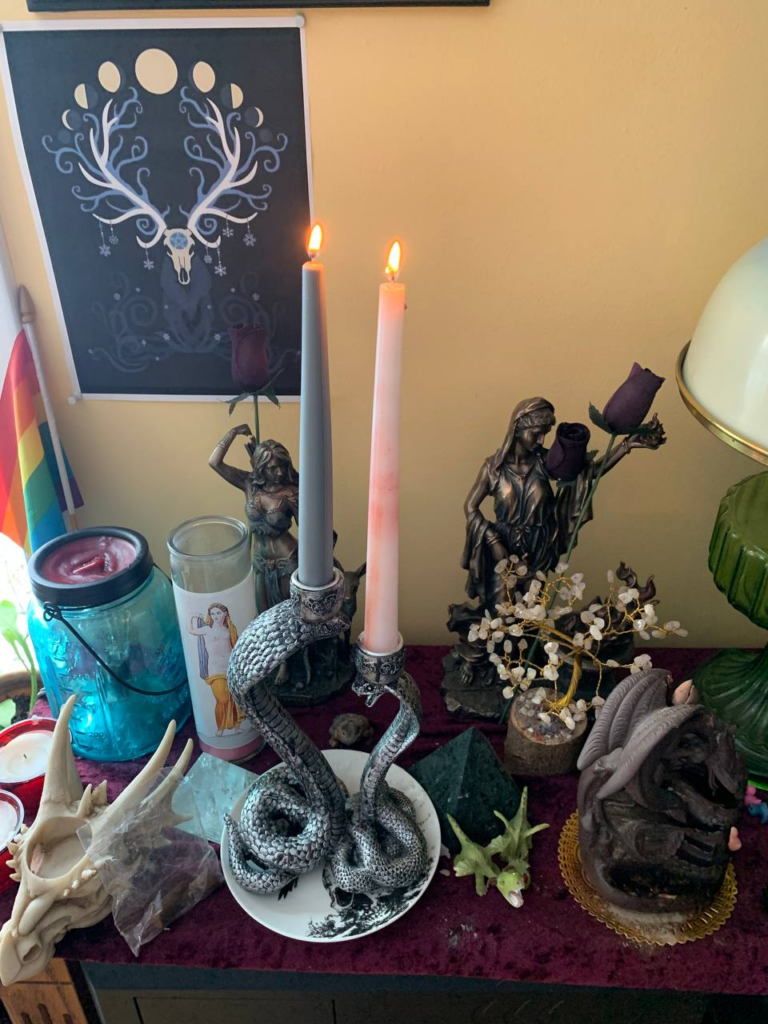
The prayer candle container in these pictures is my Persephone candle. The image on it was damaged, so I’ll be replacing it. But I have a photo here of one of the finished tapers lit and on my household altar.
